You need some type of hanger to mount anything under a mule unless you want to drill holes in the deck. There are the alternator mounting plates but at $10.00 a piece, it can get expensive. I needed something that was cheap and easy to make.
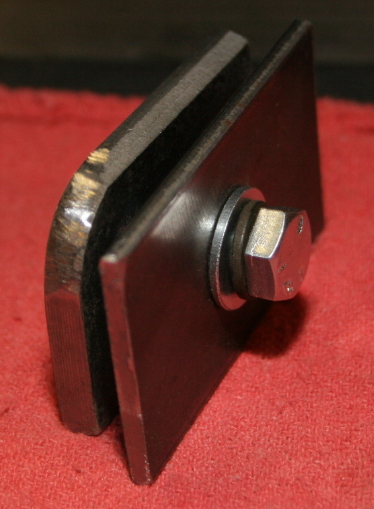
I decided to try something like a superstrut nut. They work by inserting the nut holder into the channel and turning it clockwise to spin in place and stop. It also comes out easily by turning counter clockwise.
I use the design specified here to hold up my battery box, mount my battery connector and rear light. This design is flexible where it is utilized, will hold quite a bit of weight and is easy to install and remove. The best part is that it does not require any expensive tools to fabricate.
Another benefit of this solution is the securing plate can be welded on to design many types of attachments.
Refer to Figure A below for steps 2, 3 and 8.
Refer to Figure B below for step 5.
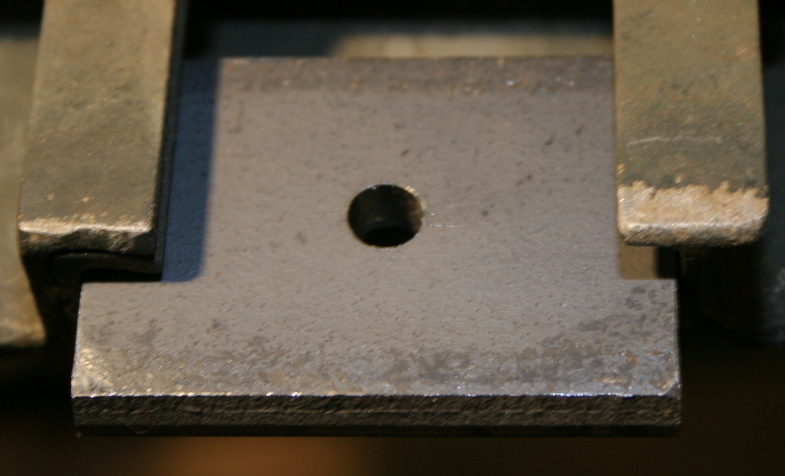
Refer to Figure C below for steps 6 and 7.
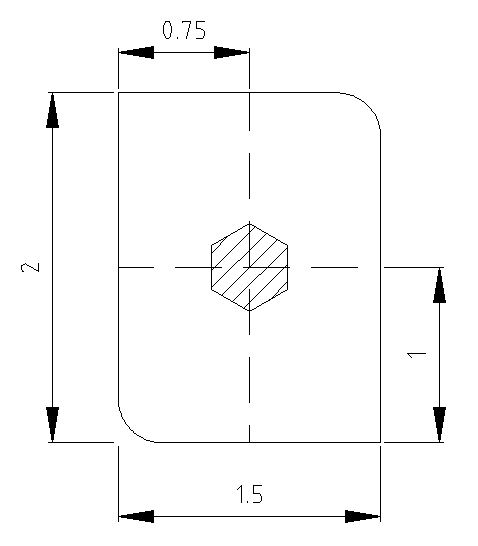
Figure A: Hanger Diminsions and design. ( Click on image to enlarge. )
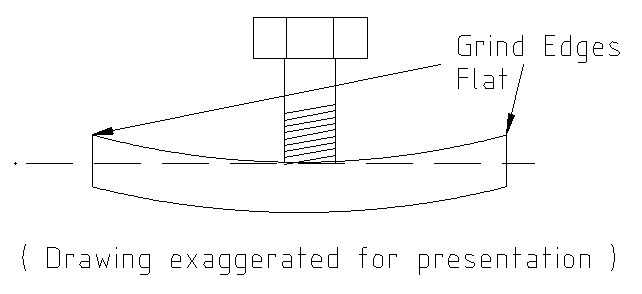
Figure B: Tap and Flatten. ( Click on image to enlarge. )

Figure C: Securing Plate. ( Click on image to enlarge. )
Picture 1: Fits into slot. ( Click on image to enlarge. )

Picture 2: Insert into slot. ( Click on image to enlarge. )

Picture 3: Twist into place. ( Click on image to enlarge. )
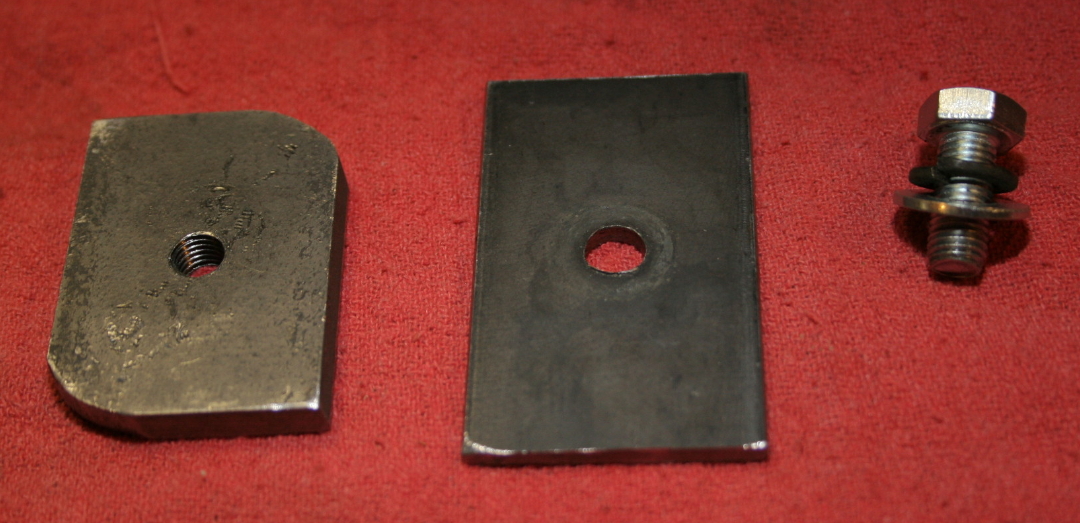
Picture 4: Parts. ( Click on image to enlarge. )
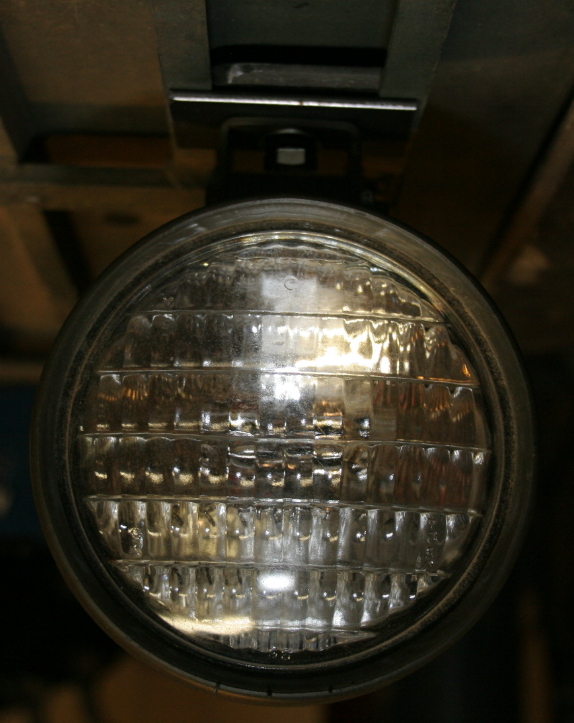
Hanging Light ( Click on image to enlarge. )
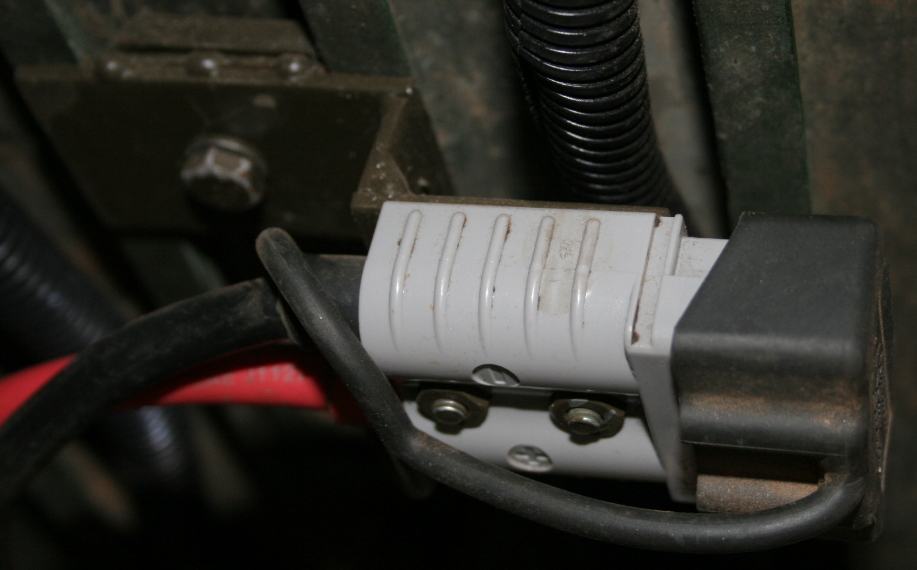
Anderson Power Connector Mount ( Click on image to enlarge. )
Notice I added a piece of 18 gage steel the width of the opening to the securing plate
to keep the fixture from turning.